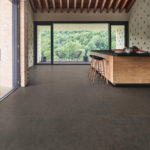
Ceramic tiles are a versatile and durable finishing material. These tiles can be installed as a floor or as a wall covering almost anywhere, but they are especially useful in bathrooms and kitchens.
Ceramic-clad walls are able to resist moisture damage, and can be cleaned much more easily than any other wall cladding. In fact, ceramic tiles are the ideal choice for bathrooms and kitchens, spaces that are exposed to moisture and cooking fumes.
Almost anyone can learn the craft of gluing ceramics using the do-it-yourself method. In fact, this task is within the reach of any average homeowner. The whole process requires only a few tools and materials.
Preparing the wall for gluing the tiles
Remove the existing cladding from the wall. Make sure the base coat is in good condition. This test is very important because a rotten or weak wall can cause the tiles to deform, break and even fall off the wall. Look for signs of mold and cracks on the surface that are often a sign that the wall is weak and needs renovation. Now, make sure the wall is clean of adhesive, plaster, paint and the like. The wall can be cleaned with a spatula and a damp cloth. Wait until the wall is completely dry before the next step.
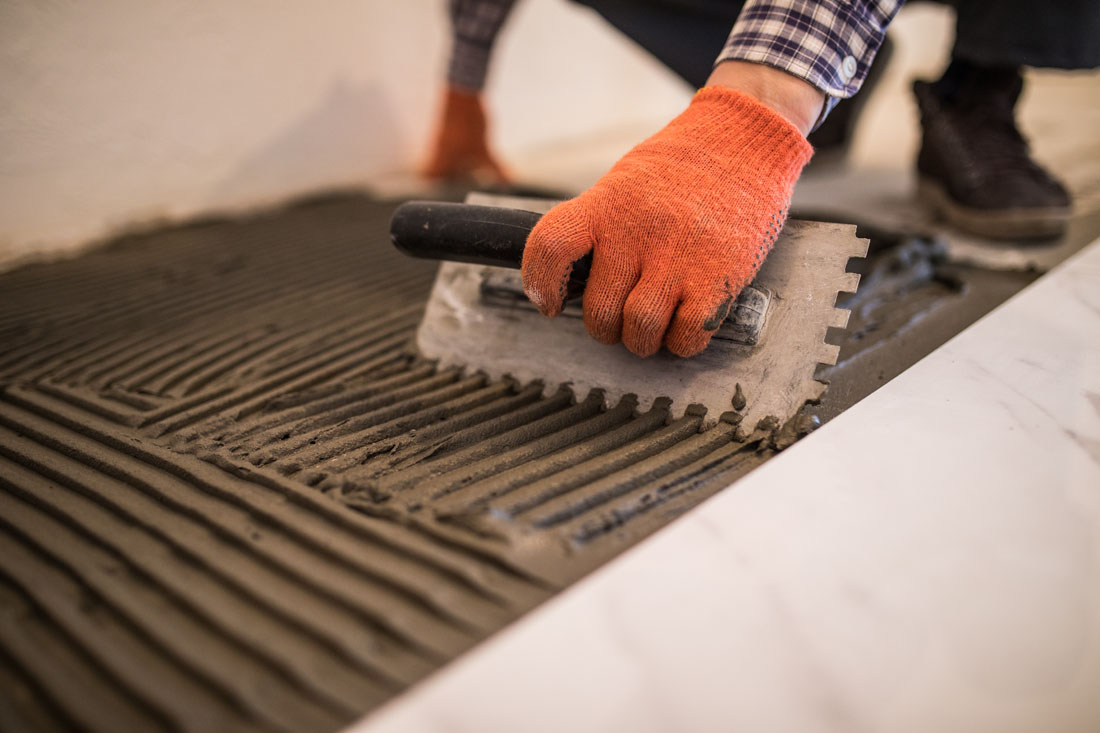
Apply the ceramic glue to the wall
Using a fork (a serrated construction spoon), apply the glue in a layer about 3 mm thick and create a kind of glue path of equal thickness on the surface. In order not to impair the suitability of the adhesive, do not apply more than 3 m2 in each of the applications. Note that the serrated side of the malage allows you to remove excess glue as you press the tool onto the surface.
Laying the tiles on the wall
The tiles start to stick from the bottom up, line by line. It also makes sense. The law of attraction causes the tiles to be pulled down. Therefore, it is best to allow the top row tiles to lean or lean on the tiles below, thus preventing a situation of the tiles falling out of the wall, during the gluing work.
During gluing it is important to press the tile firmly onto the adhesive surface. It is recommended to use the knocks of a rubber hammer that will help the adhesion and perfect adhesion of the tile to the wall.
Maintaining spaces between ceramic tiles
When gluing, it is important to keep grooves between one ceramic tile and another. This can be done using spacers that are available in a wide variety and are sold in building stores. The spacers create grooves between the tiles, which will later be filled with grout.
Cutting tiles to complete the wall edge cladding
The ceramic tiles can be cut in a machine designed for cutting ceramics or in a special grinder with a disc that is suitable for ceramics. Before cutting, measure the required tile size, taking into account the width of the spicer, and mark the required size on the tile (chalk or pencil). When cutting the ceramic in the machine, the tile should be placed in the machine with the back of the tile facing down. The cut will be done gently from the bottom to the top of the tile. Now, pressing the handle will break the tile to the desired size. Glue the tile in place to complete the entire wall cladding.
The step of filling the grooves with a rifle
After waiting about 24-28 hours for the glue to dry with certainty, you can start applying the grout. It’s time to pull the spacers out of the tiles, make the rifle and fill in the gaps between the ceramic tiles left by the spacers with a rubber band. After applying the rifle, clean the surface with a cloth, without damaging the rifle inside the slots. It is recommended to do this about 20 minutes after applying the rifle. This period of time is enough for the rifle to dry and facilitate cleaning, but not too hard.